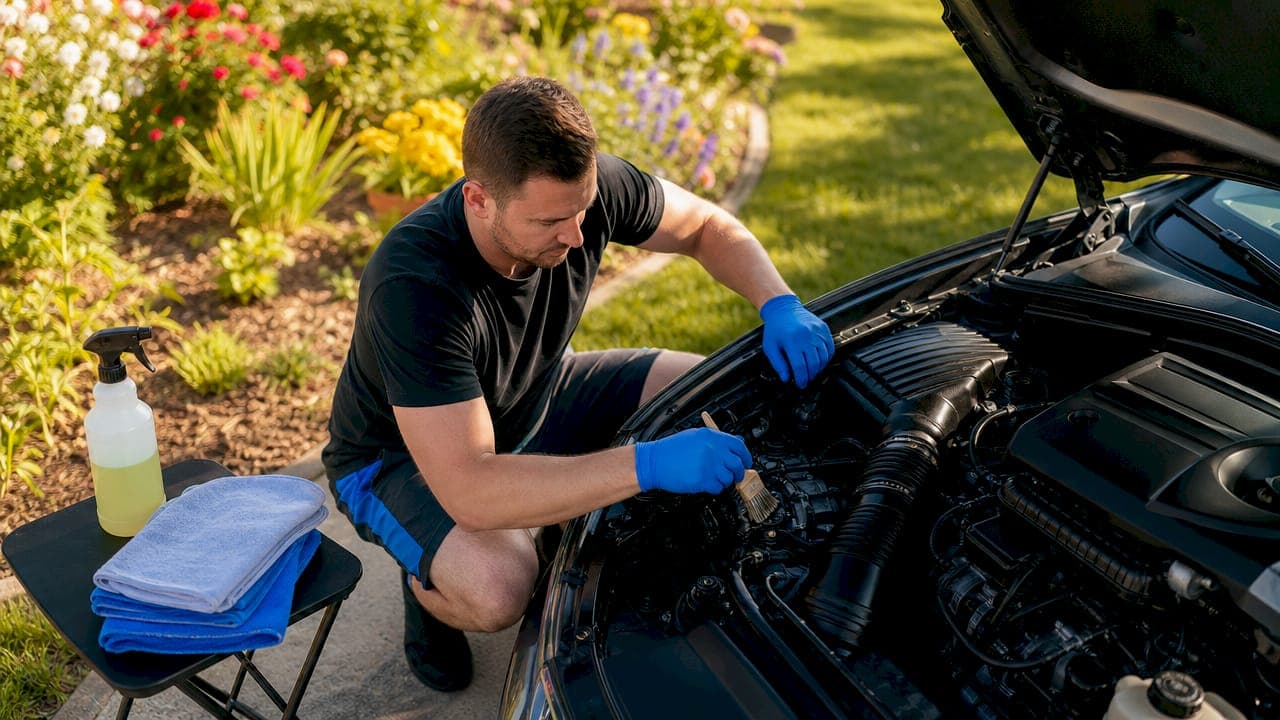
Engine bay detailing safely means cleaning and protecting your engine compartment without damaging electrical components, seals, or sensitive plastics. The process requires low-pressure water, properly diluted degreasers, and thorough drying to prevent corrosion and sensor faults. Done right, a clean engine bay improves heat dissipation, makes leak detection easier, and keeps your vehicle looking showroom-ready under the hood. Skip the right steps, and you risk intermittent electrical faults that show up days later. This guide covers every stage, from preparation through finishing, so you get a clean engine bay without the costly mistakes.
What tools and products do you need for engine bay detailing safely?
The right equipment makes the difference between a clean engine and a damaged one. You need soft-bristle brushes in multiple sizes, microfiber towels, plastic bags, painter's tape, a garden hose with an adjustable nozzle, and a leaf blower or compressed air source. Each item has a specific job, and skipping any one of them increases your risk.
Degreaser selection matters as much as technique. Biodegradable, water-based cleaners are the professional standard because they break down grease without attacking rubber seals or plastic covers. Concentrated citrus degreasers require careful dilution: 6:1 for heavy grease, 10:1 to 15:1 for medium dirt, and 25:1 or higher for light maintenance cleaning. Using a solution that is too strong strips protective coatings from plastic and rubber components.
| Tool | Purpose | Usage tip |
|---|---|---|
| Soft-bristle brushes | Agitate degreaser on surfaces | Use smaller brushes for tight crevices |
| Microfiber towels | Wipe surfaces dry after rinsing | Use separate towels for dressing application |
| Plastic bags and tape | Protect battery, fuse box, connectors | Seal completely before any water contact |
| Garden hose with nozzle | Low-pressure rinse | Keep nozzle at least 12–18 inches from components |
| Leaf blower or compressed air | Remove water from crevices | Work from back to front after rinsing |
| Water-based degreaser | Break down grease and grime | Dilute based on contamination level |
Pro Tip: Always mix your degreaser in a separate spray bottle before applying. Pre-mixing lets you confirm the dilution ratio and prevents accidental over-application directly from a concentrated bottle.
How do you prepare your engine bay for cleaning?
Preparation is the step most car owners rush, and it is where most damage happens. A thorough prep takes 20 minutes but prevents hours of electrical troubleshooting later.
-
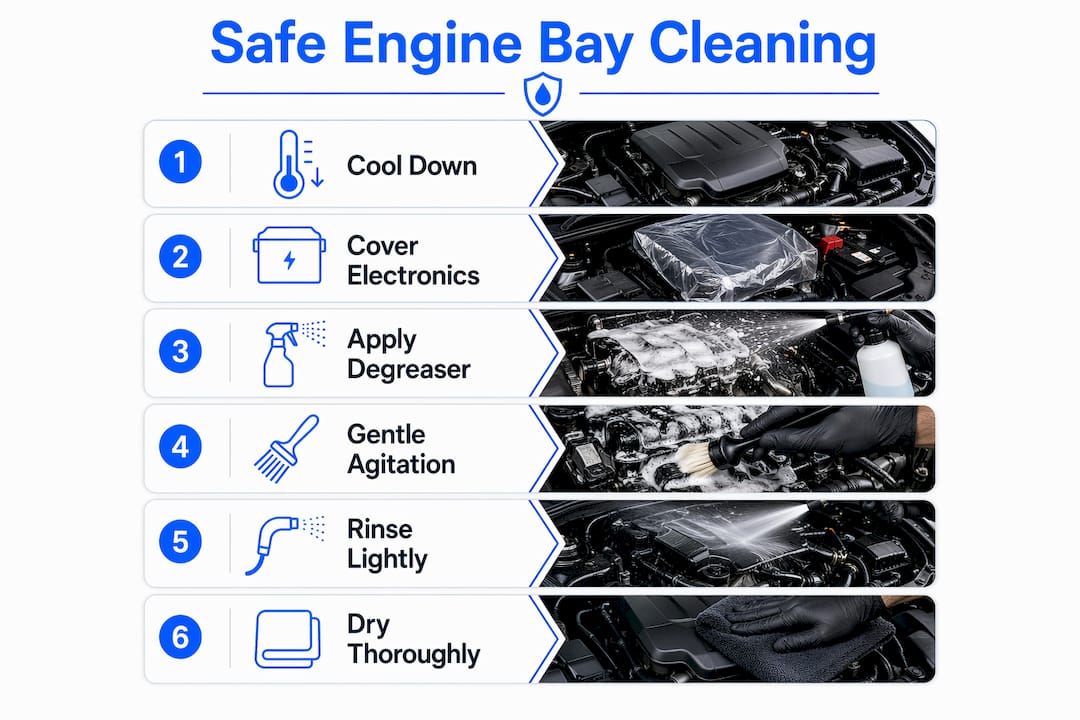
Cool the engine completely. Wait at least 30–45 minutes after driving before you touch the engine bay. Spraying cold water on a hot engine causes thermal shock, which can crack plastic housings and warp metal components.
-
Inspect for existing problems. Check for active oil leaks, cracked vacuum hoses, and exposed air filters before you apply any water. Washing over an open air intake risks hydrolocking the engine, which is catastrophic and expensive.
-
Protect electrical components. Cover battery terminals, the fuse box, and exposed electrical connectors with plastic bags secured by painter's tape. Water ingress into these areas causes immediate shorts or delayed sensor failures.
-
Disconnect the battery if possible. Removing the negative terminal adds a layer of protection against electrical faults during the wash process.
-
Pre-rinse loose debris. Use a low-pressure spray to knock off loose dirt, leaves, and surface dust before applying degreaser. This prevents debris from scratching surfaces during agitation.
Pro Tip: Park in a shaded area before you start. Direct sunlight heats surfaces quickly, causing degreaser to flash-dry before you can rinse it. Flash-drying leaves residue that is harder to remove than the original grime.
Step-by-step guide to safely cleaning the engine bay
A controlled, methodical approach protects your engine while delivering a thorough clean. Work in sections and never rush the rinse.
-
Apply degreaser from back to front. Starting at the firewall and working toward the front of the engine prevents dirty runoff from contaminating areas you have already cleaned. Spray the diluted degreaser evenly and avoid direct application on covered electrical components.
-
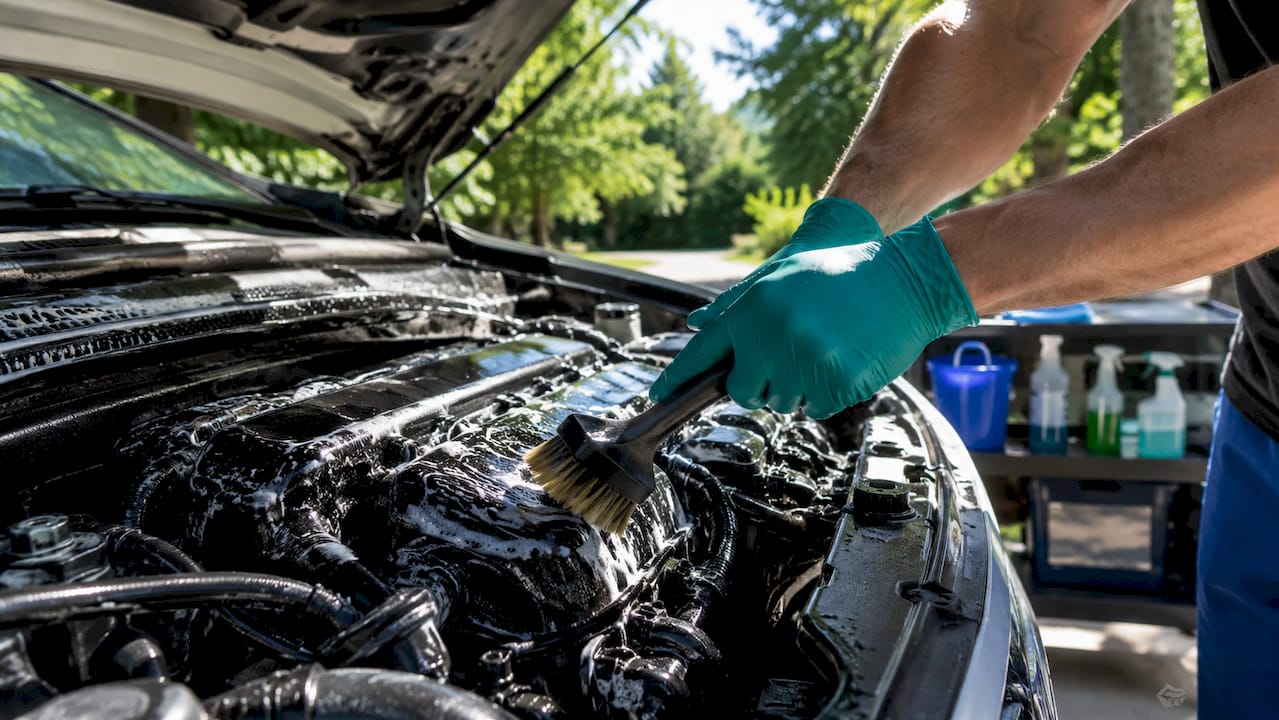
Agitate with soft brushes. Use circular motions on flat plastic covers and back-and-forth strokes in crevices. A detailing brush with soft synthetic bristles works well on valve covers and intake manifolds. A smaller brush handles tight spots around hoses and brackets.
-
Let the degreaser dwell. Give the product 3–5 minutes to break down grease. Do not let it dry completely. If surfaces start to look dry before you rinse, mist lightly with water to reactivate the degreaser.
-
Rinse with a garden hose at low pressure. High-pressure water is the primary cause of engine damage during detailing. A garden hose at low pressure removes degreaser without forcing water past seals. Keep the nozzle 12–18 inches from all surfaces and use a gentle fan spray pattern.
-
Wipe accessible surfaces. Use a clean microfiber towel to remove standing water from flat surfaces immediately after rinsing.
-
Blow out crevices. Direct compressed air or a leaf blower into tight areas around wiring harnesses, brackets, and hose connections to push out trapped water.
| Correct technique | Common mistake to avoid |
|---|---|
| Apply degreaser back to front | Spraying front to back causes dirty runoff contamination |
| Use soft brushes with light pressure | Stiff wire brushes scratch plastic and strip labels |
| Rinse with low-pressure garden hose | Pressure washer forces water past seals and connectors |
| Keep nozzle 12–18 inches away | Close-range spray damages wiring insulation |
| Blow out crevices after rinsing | Skipping this step leaves water to corrode metal brackets |
How do you dry and finish the engine bay after washing?
Drying is not optional. Moisture left behind causes corrosion and electrical issues that appear weeks after the wash. Treat drying as seriously as the cleaning itself.
- Use a leaf blower or compressed air to remove standing water from every crevice, bracket, and wiring harness. Work systematically from one side of the engine bay to the other.
- Start the engine and let it idle for 10–15 minutes. Idling evaporates residual moisture from surfaces the blower cannot reach, including areas around the exhaust manifold and under the intake.
- Wipe down all accessible plastic and rubber surfaces with a dry microfiber towel once the engine has cooled slightly after idling.
- Apply a water-based protective dressing to plastic covers, rubber hoses, and unpainted metal surfaces. Use a microfiber or foam applicator rather than spraying directly onto surfaces. Direct spraying creates overspray on belts and pulleys, which causes slipping and squealing.
- Allow the dressing to absorb for 2–3 minutes, then wipe off any excess with a clean microfiber towel.
The benefits of a quality water-based dressing go beyond appearance. It provides UV protection for rubber hoses, restores the original color of faded plastic covers, and creates a light barrier against dust accumulation between details.
Pro Tip: Less dressing is always better. A thin, even coat applied with an applicator gives a clean satin finish. Too much dressing attracts dust and creates a greasy buildup that looks worse than an unprotected engine.
What are the most common engine bay detailing mistakes?
Most engine damage from detailing comes from a small set of repeatable errors. Knowing them in advance keeps your engine safe.
- Using a pressure washer. Even on a low setting, pressure washers force water into electrical connectors and past seals. The damage often shows up as intermittent sensor faults days after the wash, making the cause hard to trace.
- Cleaning a hot engine. Applying cold water or degreaser to a hot engine causes thermal shock. Plastic components crack, and degreaser flash-dries before it can work, leaving a white residue that is difficult to remove.
- Spraying dressing directly onto surfaces. This coats belts, pulleys, and the alternator with a slippery film. Belt slippage causes squealing and accelerated wear.
- Skipping the pre-clean inspection. Washing over an active oil leak pushes contaminated water deeper into the engine. Washing over an exposed air intake risks hydrolocking.
- Inadequate drying. Trapped moisture under wiring harnesses and in metal brackets causes rust and corrosion within weeks.
Critical warning: Never skip the pre-clean inspection. An exposed air intake combined with a direct water spray can pull water into the combustion chamber, causing hydrolock. Hydrolock bends connecting rods and destroys engines. Two minutes of inspection prevents thousands of dollars in repairs.
Key takeaways
Safe engine bay detailing requires cooling, protecting electrical components, using low-pressure water, and drying thoroughly before applying any protective dressing.
| Point | Details |
|---|---|
| Cool before cleaning | Wait 30–45 minutes after driving to prevent thermal shock and component damage. |
| Protect electrical components | Cover battery terminals, fuse box, and connectors with plastic bags and tape before any water contact. |
| Use low-pressure water only | A garden hose at 12–18 inches replaces a pressure washer and prevents seal breaches. |
| Dilute degreasers correctly | Match dilution ratio to grime level: 6:1 for heavy grease, 25:1 or higher for light maintenance. |
| Dry completely before dressing | Idle the engine 10–15 minutes and blow out crevices to prevent corrosion and electrical faults. |
What I have learned after detailing over 1,500 engine bays
The most common question I get from car owners is whether engine bay cleaning is worth the risk. My honest answer: the risk is almost entirely in the preparation, not the cleaning itself. When preparation is done correctly, the actual wash is straightforward.
What surprises most people is how often I find existing problems during the pre-clean inspection. Cracked vacuum lines, loose connectors, and weeping oil seals show up regularly. A clean engine bay makes these issues visible. That alone justifies the process.
The shift toward biodegradable, water-based degreasers over the past few years has been a genuine improvement. They are safer for rubber and plastic, easier to rinse, and they meet local environmental runoff standards. I stopped using solvent-based products years ago and have not missed them.
My one non-negotiable rule: never rush the drying step. I have seen more electrical gremlins traced back to inadequate drying than to any other mistake. Ten minutes with a leaf blower and a 15-minute idle cycle costs almost nothing. Replacing a corroded sensor or a water-damaged ECU costs significantly more.
If you want a clean engine bay without the guesswork, the detailing services at Bryansdetailingomaha cover the full process with the right products and zero shortcuts.
— Bryan's
Professional engine bay detailing in Omaha and Bellevue
Bryansdetailingomaha has serviced over 1,500 vehicles across Omaha and Bellevue with a 4.9 Google rating built on technical precision and premium products. Engine bay detailing requires protecting sensitive components, applying the right degreasers at the right dilution, and drying every crevice before finishing. That is exactly what the team at Bryansdetailingomaha delivers on every vehicle.

Whether you want a one-time engine bay clean or ongoing maintenance detailing to keep your vehicle in top condition year-round, Bryansdetailingomaha offers customized packages and mobile service that comes to you. Visit bryansdetailingomaha.com to request a quote and see what a professionally detailed engine bay looks like.
FAQ
How long should I wait before cleaning a hot engine?
Wait at least 30–45 minutes after driving before cleaning. Applying water or degreaser to a hot engine causes thermal shock and can crack plastic components.
Can I use a pressure washer on my engine bay?
No. Pressure washers force water past seals and into electrical connectors, causing immediate or delayed sensor failures. Use a garden hose at low pressure instead.
What degreaser dilution ratio is safe for engine cleaning?
Use a 6:1 dilution for heavy grease, 10:1 to 15:1 for moderate dirt, and 25:1 or higher for light maintenance. Stronger concentrations damage rubber seals and plastic surfaces.
How do I protect electrical components during an engine wash?
Cover battery terminals, the fuse box, and exposed connectors with plastic bags secured by painter's tape before applying any water or degreaser.
How do I dry the engine bay after washing?
Use a leaf blower or compressed air to remove standing water from crevices, then idle the engine for 10–15 minutes to evaporate residual moisture before applying any protective dressing.